
This page is the short version: from signing up to your team's first approved time-off request. When you are ready to set things up properly, follow the full Set Up Your Workspace guide.
14-day free trial. No credit card required. Nothing is charged when the trial ends. If you have not subscribed by then, your workspace is paused and your data is kept for at least 30 days; choose a plan from Settings › Account › Plan and billing to reopen it. You can also cancel the trial there.
Sign up and verify your email
Go to timeleaf.io/signup and choose a plan. Then fill in the form:
- Company Name
- Your Workspace URL — the subdomain your team will use, for example
acme.timeleaf.io. TimeLeaf checks that it is free as you type. It can't be changed later. - Your Name
- Work Email — click Send code and type the 6-digit code we email you. The form won't continue until your email is verified.
- Password — at least 8 characters, typed twice.
Click Start Free Trial. No credit card is required.
Wait for your workspace
TimeLeaf sets up your workspace straight after you sign up. You can close the page — we email you when your workspace is ready. Then sign in at your workspace URL with the email and password you chose.
Follow the setup wizard
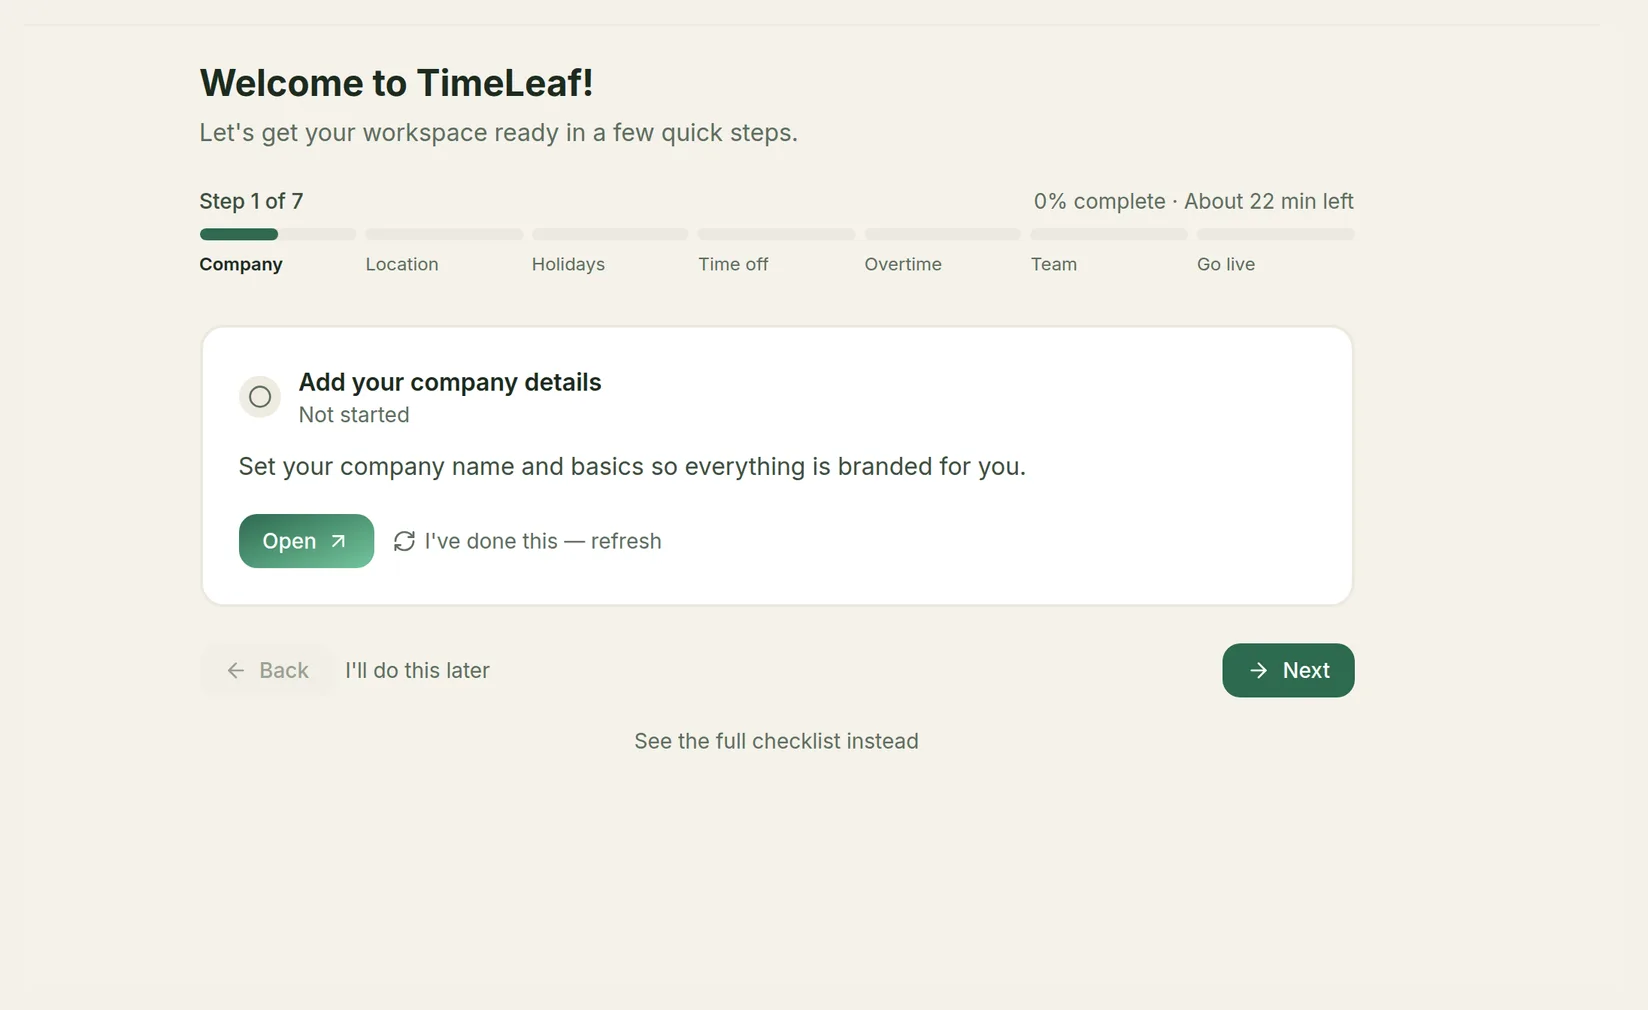
As the workspace owner, you land on the Setup checklist wizard the first time you sign in. It walks you through company details, a location, public holidays, time-off policies, a default overtime policy, your team, who has no time off, who approves, and a last step that sends the invites. Most steps are done on the wizard itself; the rest open their page in the same tab, with a Back to setup checklist link to return.
The Set Up Your Workspace guide explains every step in detail.
Add your team
Add people in the wizard's Team step with Add people, one by one with Add Employee, or from a spreadsheet with Import employees (on People › Employees). Put each person in a team with a team manager — that manager approves their time off. Nobody is emailed yet.
Give everyone a time-off policy
A policy only gives people a balance once it is assigned to them, and someone with none cannot book time off. The wizard's Assign step shows who has no time off: click Give them a policy, then Assign next to each policy they should have. Set starting balances types in what each person has today.
Send the invites and approve the first request
The wizard's last step, Invite, lists anything still missing. When it passes, click Send invites to N people: setup is finished and each person gets an email with a link to set their password. (Finish without sending invites does the first half only.)
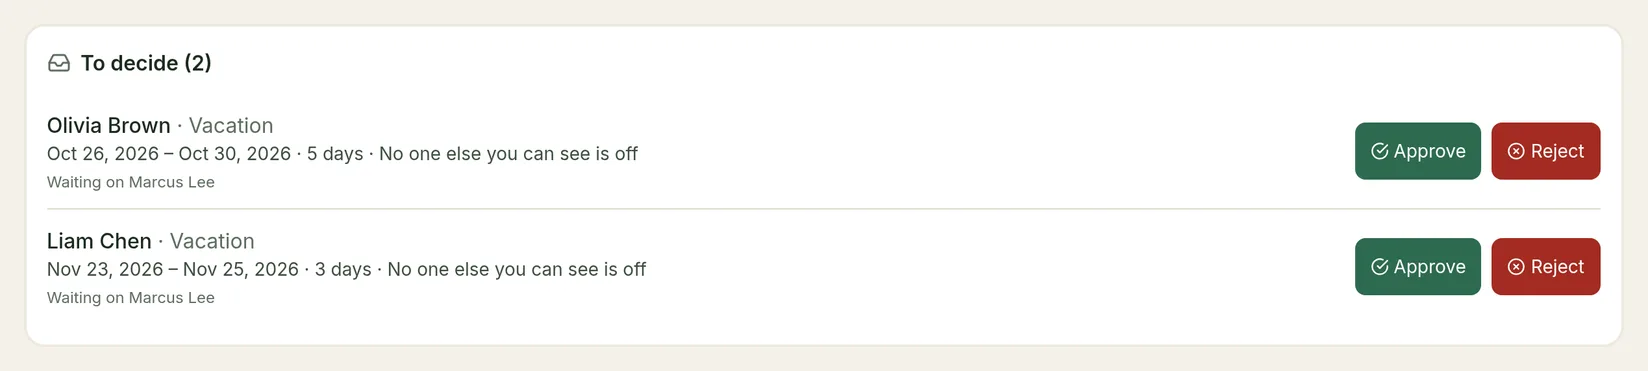
Your employees can now sign in and click Request Time Off on their dashboard. Their manager sees the request in the notification bell and under To decide in the left menu, and approves it with one click.
That's it. From here you can add approval workflows, blackout periods, calendar sync, and chat notifications whenever you need them.